fbpx

Call us today! 949-716-1938

Inspired Remodels

Author: Inspired Remodels

Kitchen Contractor Shares Signs of a Cook’s Kitchen

By / Kitchen Remodel / Comments Off on Kitchen Contractor Shares Signs of a Cook’s Kitchen

It’s almost Thanksgiving and cooks around the country will be heading to the kitchen to prepare the annual feast. A cook’s kitchen is a workspace. Whether it’s a small galley or a spacious open area, it’s a studio for an artist and the medium is food. A kitchen that’s designed for cooking maximizes the space available and is built with efficiency in mind. As you work in your kitchen this holiday season, evaluate your space and see if your kitchen is a cook’s kitchen. According to Inspired Remodels, an Orange County kitchen contractor, these are the signs of a cook’s kitchen.

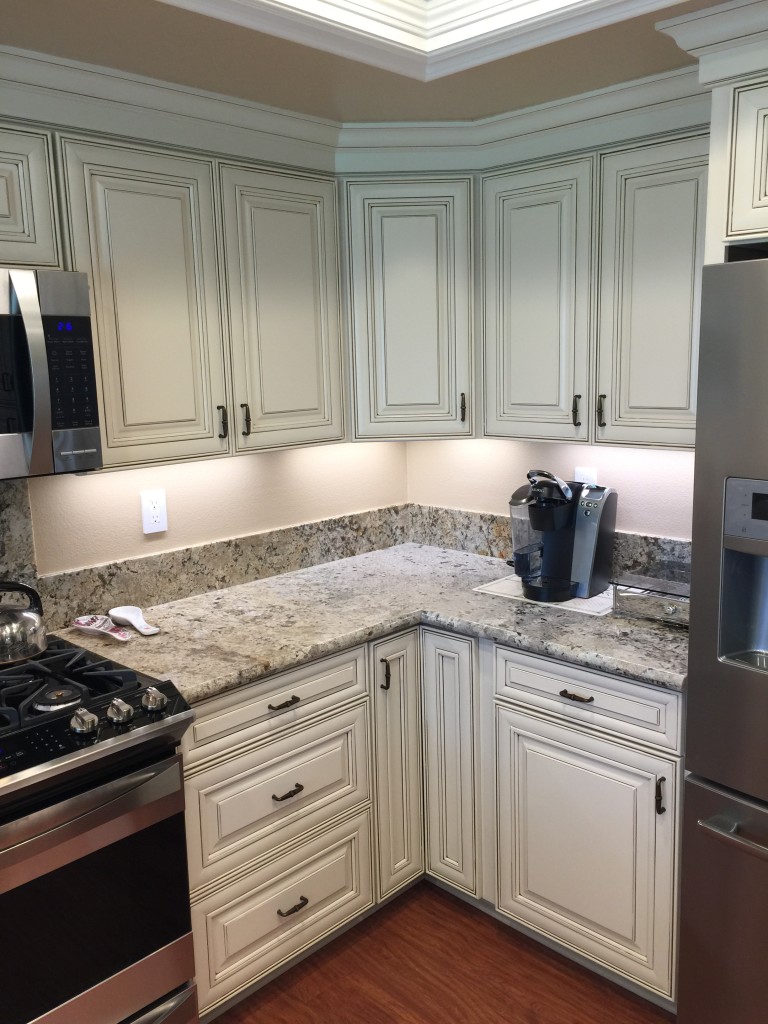
custom cabinets make best use of kitchen space

Don’t Waste Steps

Think about how the space will be used and design accordingly. The cook can grab a quick drink of water when drinking glasses are stored in cabinets next to the sink. Bakers shouldn’t have to walk across the kitchen for a sheet pan or baking tray. Provide storage for these items next to the oven. Install cabinets for dishware and flatware close to the eating area to make setting the table easy or close to the dishwasher to make unloading and stowing easier. Hang a magnetic strip next to the main workspace and store knives safely. Hanging your knives will help keep them sharp.  Of course, the kitchen work triangle is still the base upon which all efficient kitchen designs are built.

a savvy kitchen contractor knows to incorporate pull out step stools in their designUse the Right Height

A cook’s kitchen takes into account the height of the cook. No, we’re not suggesting that the countertops, cabinets, and microwave be custom built to the exact height of the cook. But, if the cook isn’t the average size, the kitchen shouldn’t be either. Raising or lowering countertops will make it much easier for an extremely tall or short person to work in the kitchen. Also, keep in mind if kid’s will be using the kitchen on a regular basis.  A microwave that’s installed the standard 15 inches above countertop may not be safe for use by kids. A below countertop model make much more sense if kids are regular cooks in the kitchen. A step-stool built into the toeplate of a cabinet is a great way to get kids up to countertop height.

Functional Islands

An island in the kitchen can provide extra workspace and a place to eat. But a skilled kitchen contractor knows it shouldn’t do both. Decide whether you want the primary purpose of the island be to additional eating space or working space. You should not place seating at an island with a cooktop.

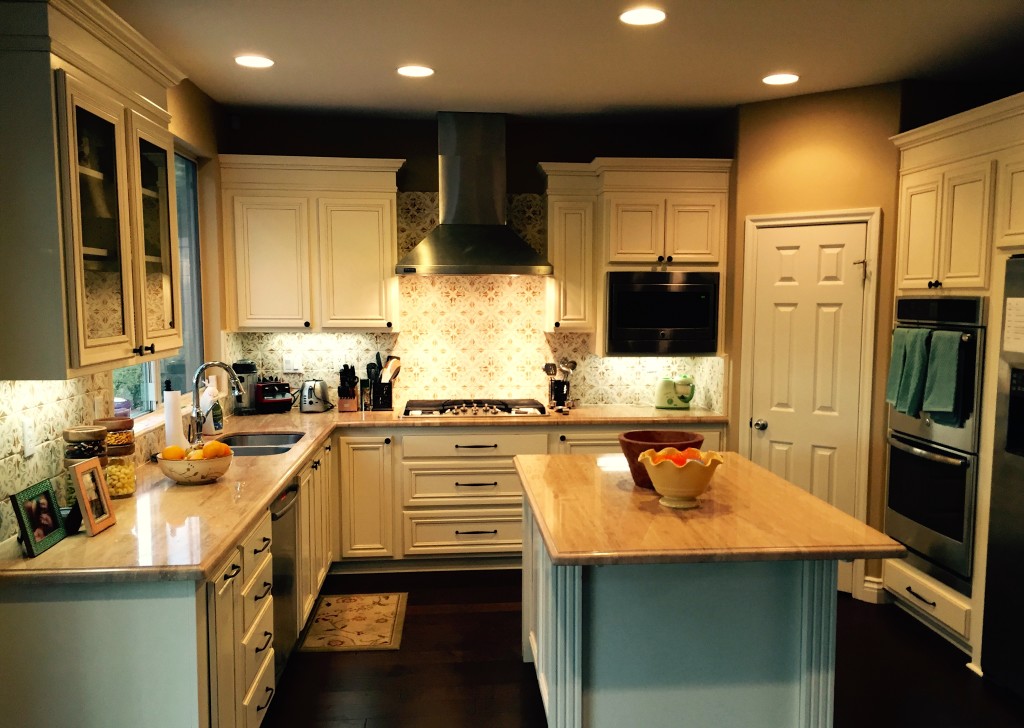
kitchen remodel planner tool creates workable design

Workspace

Cooks need a place to work. That means more counter space. Most cooks want this extra space to be between the cooktop/oven and the sink. Occasional cooks who prepare simple meals don’t want or need as much counter space on which to work. An island without a cooktop can double as workspace and eating space if positioned properly in the work triangle.

Use Cleanable Surfaces

A cook’s mess doesn’t linger. Cooks want surfaces that are easy to clean. Undermount sinks don’t provide a place for crumbs to hide.  Smudge-free surfaces on appliances hide fingerprints and matte surfaces don’t show grime as much as glossy ones. Matte surfaces are great for floors. Quartz is an easier care surface than granite and concrete resists heat damage. Solid shelves in the pantry and refrigerator are easier to clean and help keep spills contained.

Let the Light In

Use task lighting to enhance overhead lighting. Light colors make spaces appear larger and dark colors shrink space. Soft shades for the cabinetry visually expands a small room. Shaker and French farm house looks are popular because they can make even the darkest corner look light and bright.

Inspired Remodels – the Kitchen Contractor that Knows Cooking

When you are ready to step up your game and create a kitchen for cooking, contact Inspired Remodels. Inspired Remodels is the kitchen contractor that knows cooking. From designs that combine function and beauty to making the most of the room you have, Jason and Joe Mueller can create the kitchen of your dreams. When you’re ready to start cooking, call Inspired Remodels at (949) 716-1938 to schedule your consultation.


A Kitchen Renovation to Make You Thankful

By / Kitchen Remodel / Comments Off on A Kitchen Renovation to Make You Thankful

Any renovation project is a major disruption. But a kitchen renovation or a bathroom renovation can make simple day-to-day activities even more difficult. But all those dinners of microwaved soup will be worth it if the project brings you a kitchen that is functional and beautiful. Now that’s a kitchen renovation to make you thankful. To make sure that’s why you get, follow these guidelines.

Pick the Right Kitchen Renovation Partner

To end up with the right kitchen, you’ve got to start with the right partner. You need a kitchen renovation expert that knows how to convert your dreams to reality. A kitchen is just more than a collection of appliances and cabinets. A kitchen includes all construction elements. You’ve got plumbing, electrical, drywall, HVAC, and flooring as well as cabinetry.

Changing the kitchen could mean changing the plumbing. The right renovation partner considers all the pieces that must come together to create the kitchen you want. When budget is a concern, that’s important. Pick Inspired Remodels as your partner.

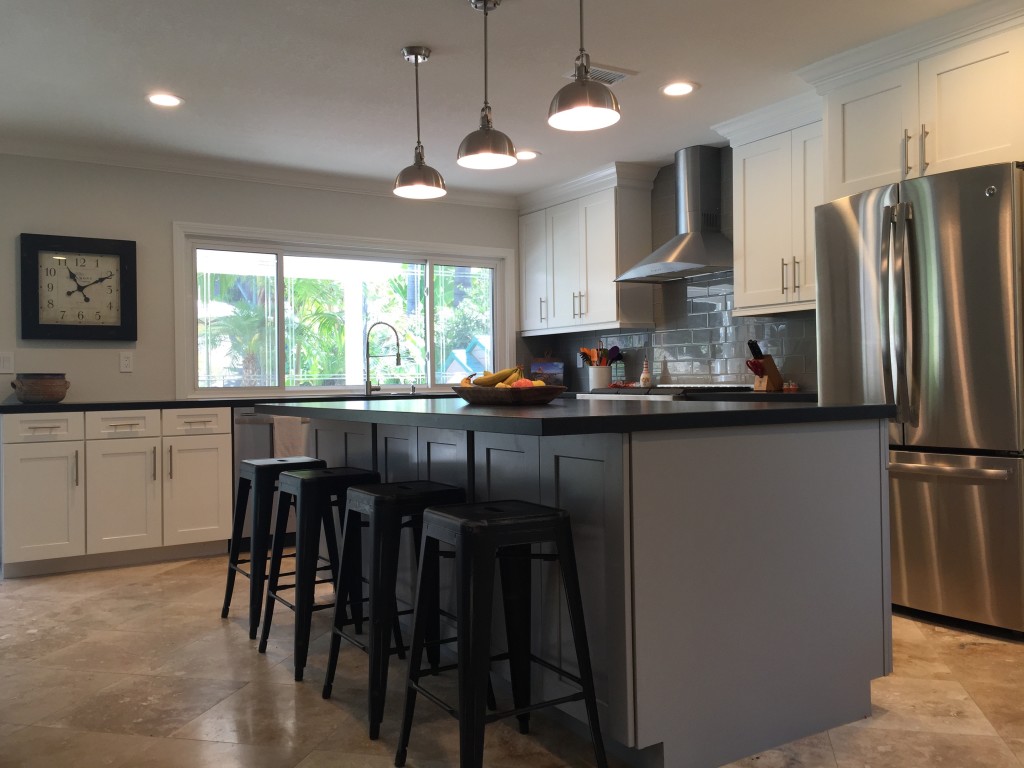
kitchen renovation succes starts with a solid plan

Approve a Workable Design

Your renovation must start with a plan. Make sure the design you approve is a workable design. Kitchens are work spaces. The most efficient designs are based on the kitchen triangle. The refrigerator, sink, and stove are essential to cooking. Place these items in a triangle and the cook moves efficiently between the essentials.  Include storage for the most used items in easily accessible places.

Work with a design/build contractor and make the kitchen renovation process easier. A contractor like Inspired Remodels not only creates a workable design, they execute the design as well. That’s one less headache for you.

Utilize Easy Care Finishes

Unless you want to spend as much time cleaning as you do cooking, pick easy care finishes. Do you pine for granite countertops? Did you know that quartz is easier to maintain?  Tile makes a lovely backsplash, but do you want to scrub grout?

Talk with your kitchen renovation specialist during the design phase to pick out finishes that are not only lovely and durable but are easy to maintain.

Once you’ve selected your design and finishes, then set up your temporary kitchen in another area. Use disposables, small appliances, and practice patience. The end product will be well worth the disruption.

Celebrate with A Party

Once the work is complete, invite friends over. You’ll be thankful that entertaining and cooking is so easy in your new kitchen. Picking the right partner and relying on their expertise in design pays off in a workable kitchen. You’ll have a kitchen that’s great for cooking and easy to clean when you’re done. Call (949) 716-1938 or Contact Us today and schedule a consultation.

General Contractors Guide to the Best Halloween Jack O’Lantern

By / Home Improvement / Comments Off on General Contractors Guide to the Best Halloween Jack O’Lantern

As general contractors, Inspired Remodels knows a thing or two about designing and building great spaces. We understand physics and design. To celebrate Halloween, we’re putting that knowledge to practical use to help you select, design and carve the best pumpkin ever.

Start with the Right Structure

If you’re going to have the best Halloween Jack O’Lantern, you’ve got to start with the best pumpkin.  Pumpkins are a member of the Cucurbit family of plants. Their cousins are cucumbers, gourds and other squashes. The word pumpkin comes from the Greek word pepon which means large melon. Why is this important? Because what we call “pumpkin” in the US is called winter squash elsewhere. And in the Caribbean they call the squash we know as “calabaza” pumpkin. By the way, did you know that most canned pumpkin is actually butternut squash? See, they can get away with it because pumpkin has no set botanical or scientific meaning.

For the purposes of carving your Jack O’Lantern, you’ll be faced with a choice of two types of pumpkins: hard and sugar. Sugar pumpkins are the small, cute white or orange pumpkins you see. They have a round shape. Sugar pumpkins are fleshy. They have a high sugar and pulp content. Sugar pumpkins make awesome pies. But, they are too fleshy for a good carving structure.

For carving, you want a pumpkin that is hard. The skin must be thin. You want stringy flesh. Autumn Gold and Hobbit are popular here on the West Coast. If you want a monster, find a Gold Rush.

general contractors know the important of structure when it comes to carving

Pick the Best Pumpkin

Now you’ve narrowed down the choices, here’s how to pick a pumpkin that will stand up to carving. As general contractors, we know that structure is important.

Get a hollow pumpkin. Pick the pumpkin up and tap it. It should sound hollow.

Get a flat bottom. If you want your carved creation to sit properly, you need a flat bottom. It’s easier to pick a pumpkin with a flat bottom than to level an uneven pumpkin later.

Get a fresh pumpkin. Inspect the pumpkin carefully to make sure it is fresh. Look for bad spots that indicate it is starting to rot. Touch the surface of the pumpkin. Feel for soft spots. Soft spots are a sign of a rotting pumpkin.

Get it home carefully. Always carry your pumpkin from the bottom. The stem is not a handle. Secure it in the trunk or back of your car so it does not roll. The floorboard is better than the seat.

Get Carving

The internet is loaded with templates and ideas for carving. Here’s a link with over 50 ideas for pumpkin designs. We’re not going to duplicate that information here. What we will do is give you some solid carving tips.

Scrape scrape and scrape again. This is the secret to a long lasting pumpkin. Make sure you get all the seeds, pulp, and flesh out of the pumpkin. When you think you have it scraped clean, scrape it again. There are claws to make this work easier. Spoons do it too.

Use the right tool. Make sure you use the right tool for the right cut. Small double edged saws are great for carving. Make your cuts straight, not on an angle. Angle cuts expose more surface area. More surface area means more area exposed to air. Air leads to rot. Cut straight!

Vent. No, this doesn’t mean complain about the work involved in scraping. You need a little chimney for your pumpkin. When you finish carving, light a candle, place it in the pumpkin, and set the lid on top. Let it burn for 3 to 5 minutes.  Remove lid and blow out candle. The top of the lid should have a small black spot from the candle soot. Take an ice pick or awl and make a vent here.

Bonus tip. Now here’s a bonus tip. When you are through with your pumpkin carving, wipe the inside of the pumpkin with a paper towel. Then rub cinnamon, allspice or ginger on the inside. As the candle burns, it will release a warm, spicy aroma.

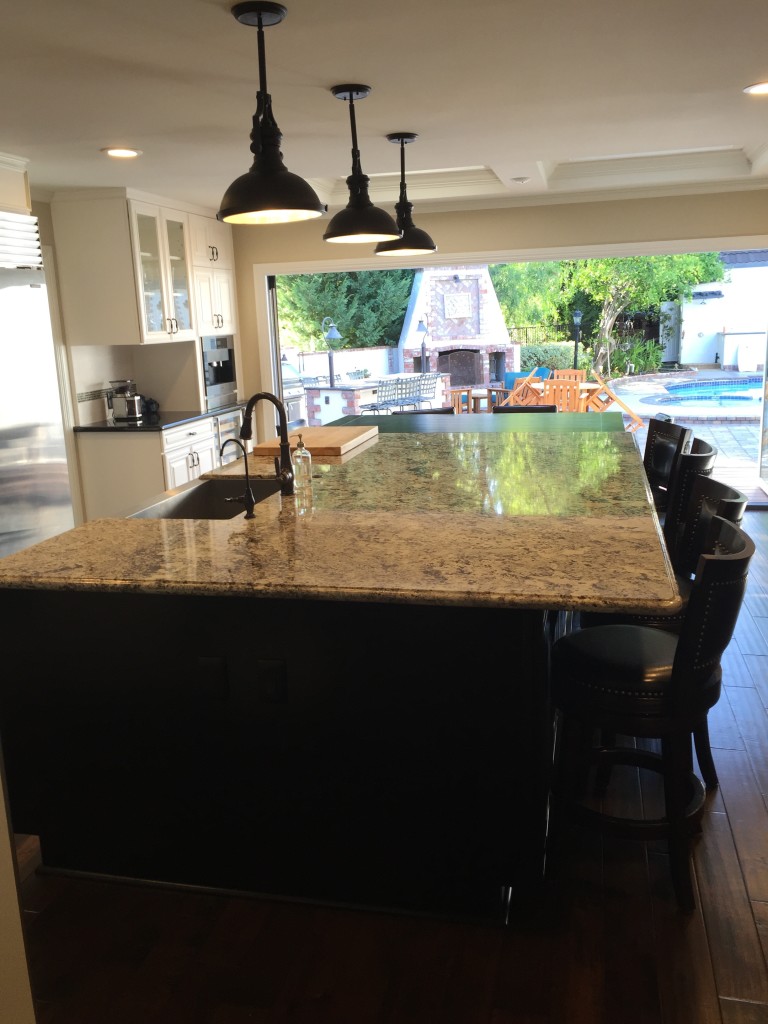
kitchen cabinet contractor installs semi-customer cabinets

Inspiration from Inspired General Contractors

We hope this post has inspired you to get out and create the best carved pumpkin ever! Inspired Remodels is the home remodeling contractor that specializes in helping people turn ideas and inspired dreams into reality.

When you’re ready to remodel more than a pumpkin, give us a call at (949) 716-1938.